DevOps
Configuring Apache on an AWS Ubuntu Instance: Installation Guide
This comprehensive, step-by-step guide teaches you how to install and configure Apache on an AWS Ubuntu instance. It is perfect for developers and system administrators looking to optimize their Linux server setup.
 Shashikant Dwivedi
Hello, everyone. I am Shashikant Dwivedi, and I will demonstrate how you can set up Apache Server in this article.
Apache is used to create an HTTP server to host our web applications.
Prerequisites
You need an Ubuntu server on AWS (or another provider) with SSH access using a key pair. If you don’t have a Linux server yet, you can create one on AWS and connect with your private key and the instance’s public IP.
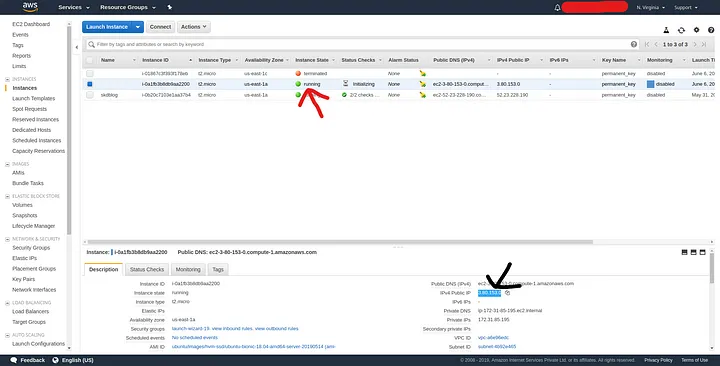
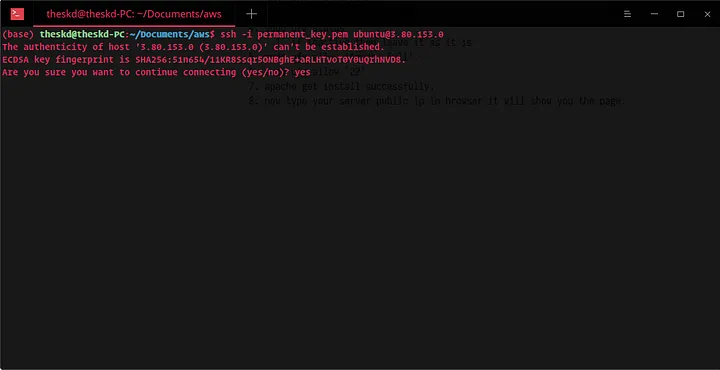
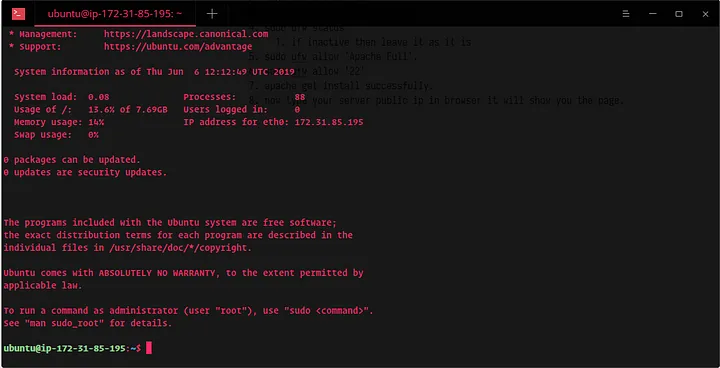
Connect to your Ubuntu server
Open the Instances tab on your EC2 dashboard in your AWS account and copy the IPv4 public IP. Then open your terminal and run:
ssh -i private-key.pem ubuntu@your-public-ip
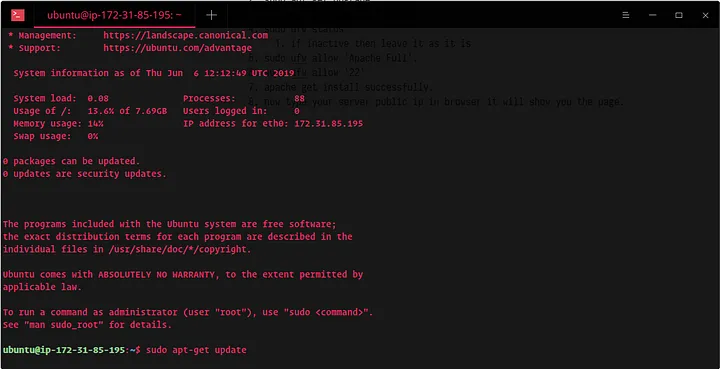
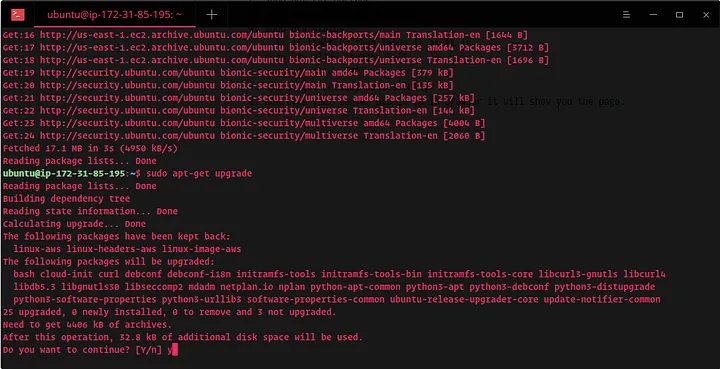
Update and upgrade packages
Update and upgrade your Linux server:
sudo apt-get update
sudo apt-get upgrade
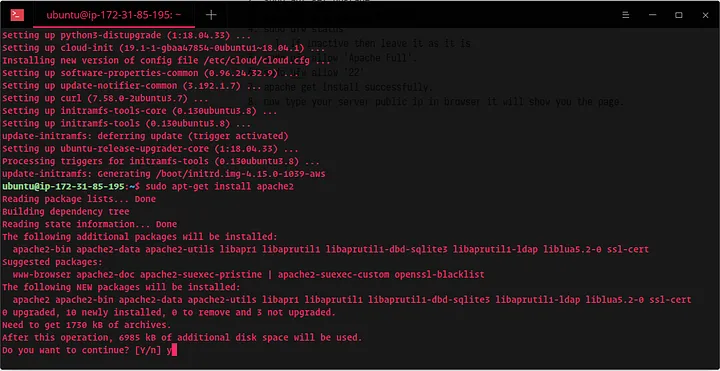
Install Apache
Install the Apache package:
sudo apt-get install apache2
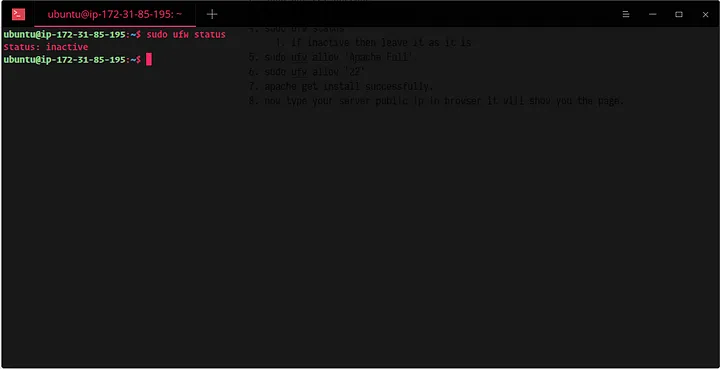
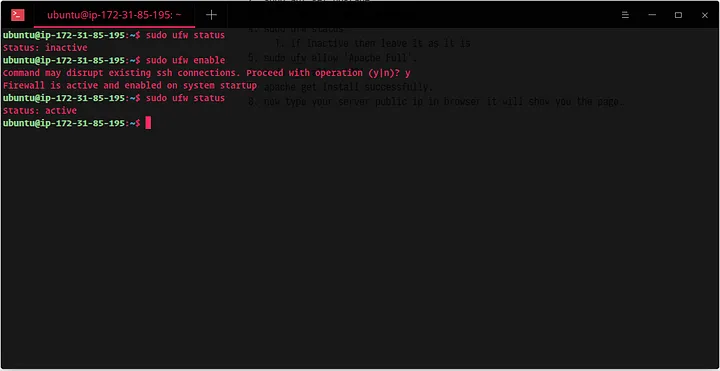
Configure UFW firewall
Check whether the firewall is enabled:
sudo ufw status
If this shows status: inactive, enable it:
sudo ufw enable
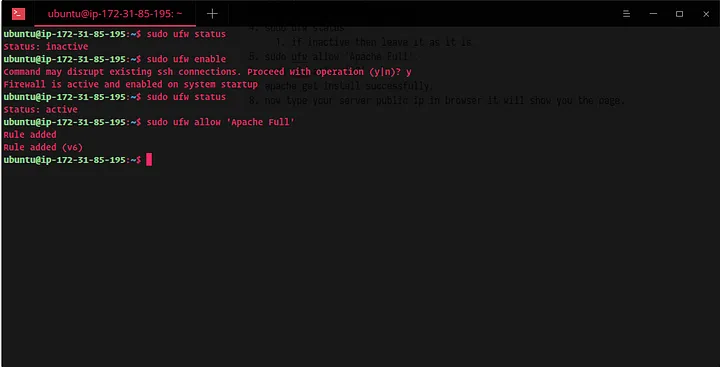
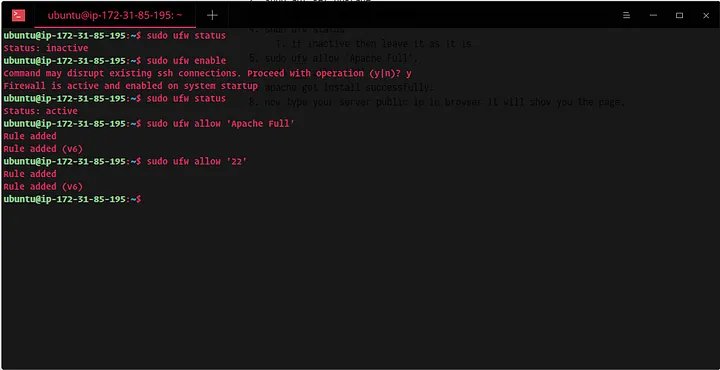
Allow Apache and SSH through UFW:
sudo ufw allow 'Apache Full'
sudo ufw allow '22'
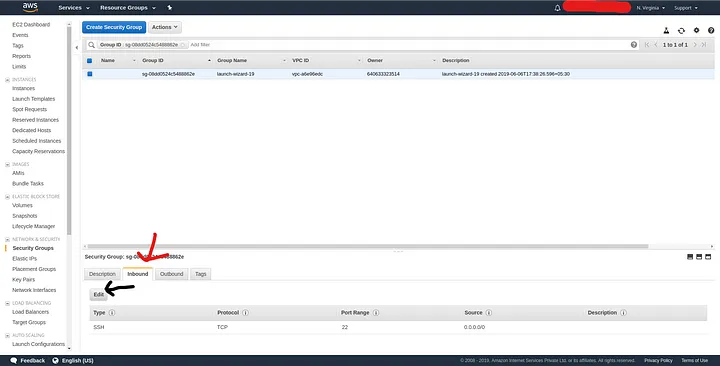
Open HTTP in AWS security group
With the server configured, open the EC2 console and adjust the instance security group so HTTP can reach the instance.
Open Security groups from the EC2 instance view.
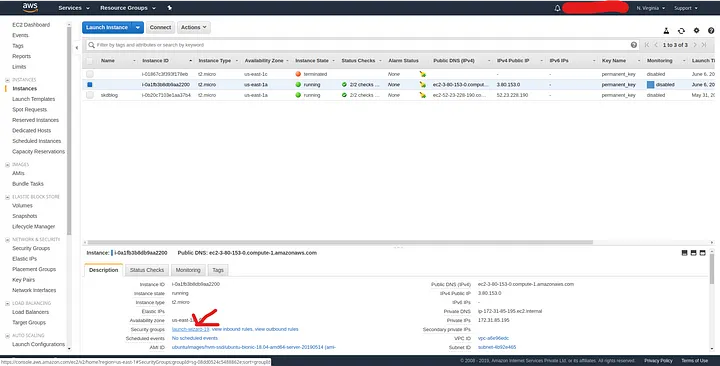
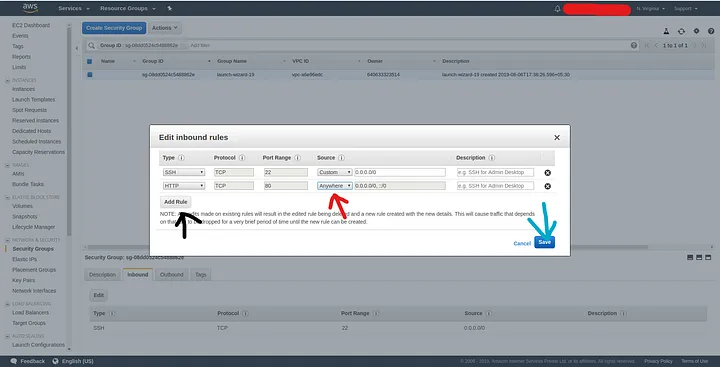
Open the Inbound rules tab and choose Edit inbound rules.
Add an HTTP rule (port 80) allowed from the internet (for example 0.0.0.0/0), then save the rules.
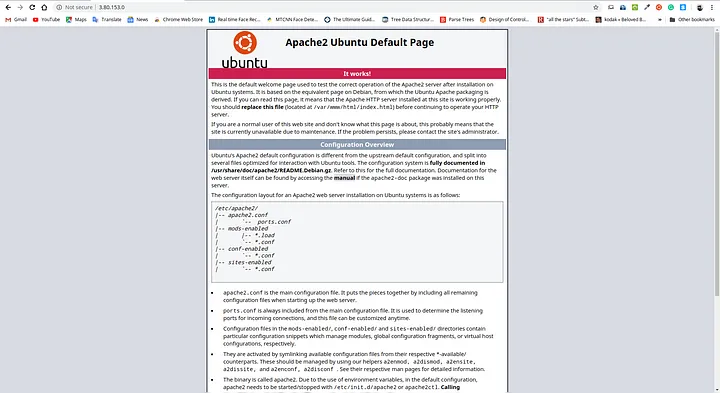
Verify the default Apache page
Copy your instance’s public IP and open it in a browser. You should see the default Apache welcome page.
By following these steps, you can set up Apache on Ubuntu on AWS. I hope you liked the article. If you have any problems, you can ask me in the comment section.
Written by Shashikant Dwivedi
Engineer, occasional writer, full-time noticer. Based in Prayagraj, India. New essays land roughly twice a month.
Keep reading
Adjacent essays.

The newsletter
New articles in your inbox.
Occasional articles on engineering, tooling, and software development practices. No marketing, no fluff — just the article, when it's ready.
Unsubscribe with one click. Your email never leaves the list.